WFC placements

Today i spent a bulk of my time setting up the hda to start populating the level with art and also NPCs. To be honest, i was quite surprised how far i got. Mostly me poking around and trying to figure out how to do things with google.

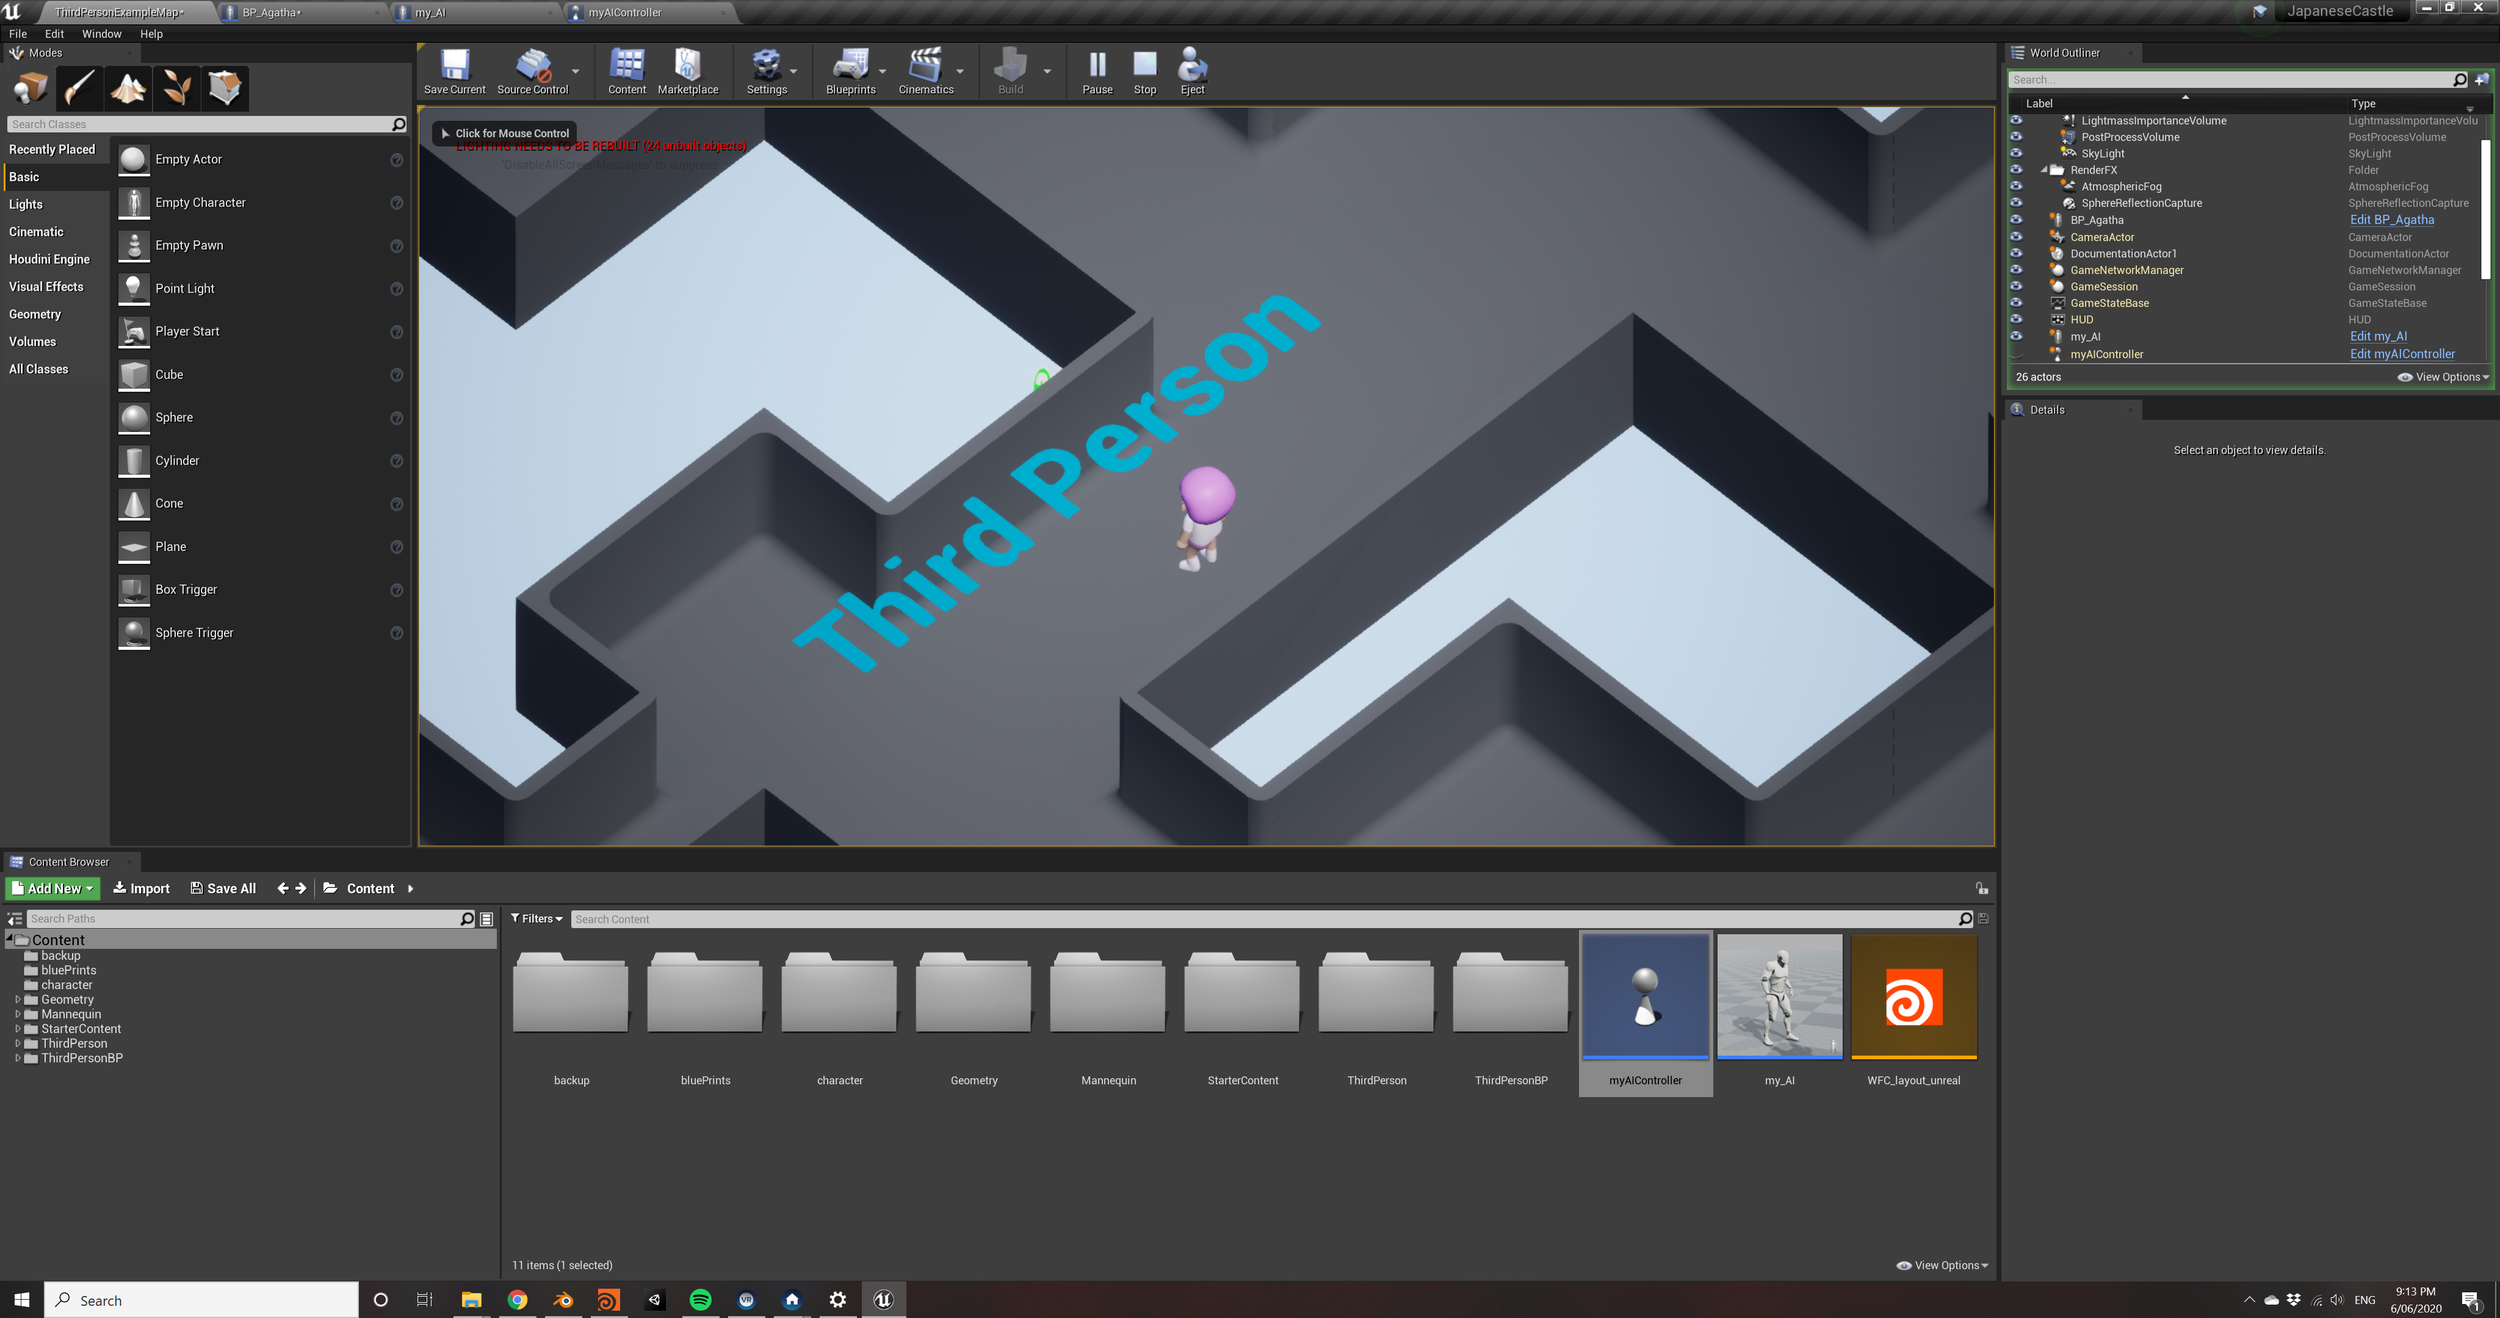
The first thing I wanted to figure out was how to place the player within the procedural map. i tried couple of different method, I knew i wanted them to spawn close to a wall (instead of dropping right in the middle of big room). I got the wall part working but my attempt to spawn the player in the smallest space is not quite working as I would understand. I might revisit the for loop per connected piece later.

For the door i wanted it to be spawned against the tile piece that has a wall and to be close to the player’s spawn location so they will see the exit point that they need to head towards to complete the level once they have stolen a piece of art. I think i got it to work, but it took me quite some time to find the right solution to find the closest point of the wall tile to the player’s spawn location.

I tried a couple of different pieces like pcfind and nearpoint in both vex and vop. at the end I settled with VOP which ultimately export a bind of a parameter where the first parameter is the often the one I want. So I just blasted the rest off and added the door.

spawningWFC_playerAndExit.gif

To my surprised i also was able to add the blueprint behaviour of activating the animation when the character overlaps with the collider. I was pretty surprised how far I got today. not going to to lie but i am a little terrified that maybe the low hanging fruits are gone.

The next step I wanna take is either to be able to spawn a set of NPC from the same AI blueprint. I also wanna figure out how to attach paintings on the wall with in the WFC hda.

Placing objects into the scene

After spending a pretty reasonable amount of time readjusting the collision bound of the adjusted WFC tiles, I went back to houdini to evaluate how I can start placing objects inside those levels and what kind of prep I need to do. This is mostly pre production work before I get into making more art pieces.

I definitely had to remind myself what is what. The first step I play with the grid resolution that is being generated inside a for loop for all the big pieces of room. My OCD wishes the grid will align properly on the tileset, but it has proven to be futile (for now).

I then removed some of the regions that are being included into the room placement region, so that the objects are not placed too close to the walls but still have sufficient space to place items.

Untitled.png

Next steps are probably to look at how to layout paintings on the wall, or designate a region for the player to start playing + exit door

Improved cel shading and continuing collision

So yesterday I decided to do a pass on the geometry of tiles that will be in the way from the current camera view, I basically reduce the size of the walls and corners that obstruct the view.

As a result I spent most of the day adjusting the geometry and unwrapping lightmap for all the meshes. It was quite a labourious process but at least i got that done. Then I realised i need to redo the collision bounds because it’s a new geometry so it’s quite a repetitive process

Instead of doing that today (which i definitely forgot), I decided to tweak the cel shaing post processing material. Instead of using the toon shader from this tutorial, I opted for a simpler one that requires a CLUT images.

This is the first cel shading post processing. which is using an if statement based on a depth scalar value to delineate the tint

This is the first cel shading post processing. which is using an if statement based on a depth scalar value to delineate the tint

This is an alternative implementation - way easier just a simple multiply of the CLUT

This is an alternative implementation - way easier just a simple multiply of the CLUT

I think the second one is more simplistic but i think i like the look of it better, it’s cleaner.

I am going to maybe go back to redoing the collision of the newly imported WFC tiles. also I will probably do some colour adjustments

Picking a camera angle & llghtmaps

Today i was planning to tackle the material that I could apply to the tileset to occlude the walls that is obstructing the view of the player inside the tiles. I did some initial research on youtube for option, most of them are focused on near camera fade, whilst what i need is for the walls to not be visible when it’s between the players and the camera.

I realised I should pick a camera view first, so I made some adjustments to the player BP and made it so that the system does not adjust the camera rotation based on mouse input of look up or rotate. also changed the camera from perspective to orthographic.

Untitled.png

Then here comes the semi-disaster. I tried out creating a material function to create a sphere mask of based on the camera and absolute world position of the object. After plugging in all the wire that seems to be appropriate. when I run the game the camera position isn’t being updated. Also when i tried to build light only, i realised i haven’t done a pass on lightmaps so everything ended up baking to pitch black

wfc_mask.gif

Hmmm, well i guess there is a couple of paths I will take from here:

  1. try to remove the need to bake light at all but changing the default setting from static light to just rely purely on real time light

  2. also to edit the meshes that have sides exposed to the angle that may occlude the player and reduce the height of the walls.

Below is the attempt of #1 where i disabled static light and forced no compute lightmap (source; https://www.reddit.com/r/unrealengine/comments/2nygpf/how_to_disable_all_static_lighting_and_force/).

WIP_nostaticLight.gif

WFC & Grunt work

I decided to switch out the hda environment from the proc Japanese castle with the WFC layout gallery. I have to hook up the unreal asset references again in the houdini so it can be instanced correctly. it’s quite a labourious process, it would be nice if you can just directly expose those end points and references them in unreal.

I then spent almost 2 hours fixing the collision bounds of the tileset (which i will likely to have to layout the collision bounds again with the proper tile set for the art later on. Environmental art has so much to repetitions involved. I am most probably not optimising for it.

Untitled.png

The next steps I wanna take is to find a shader for the environment material so that when the camera is looking through the environment, it can ray the walls.

I also probably need to fix some of the camera controls with the character movements because i feel like that right now everything is moving kinda too chaotically, it’s really hard to move the character and swing the camera view at the same time with the mouse.